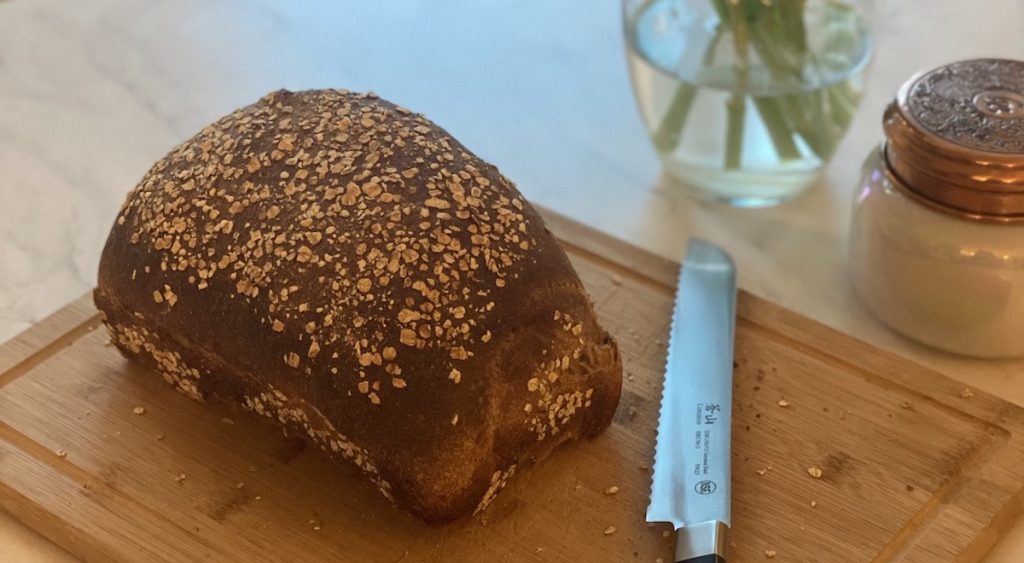
Spelt and Whole Wheat Bread Loaf
Delicious and hearty spelt bread loaf
Equipment
- Loaf Pan (mine was 9 x 5.5 x 3)
- Parchment paper
- Mixing Bowls
- Bench Scraper (not required but definitely helpful when shaping bread)
- Baking Sheet
Ingredients
Levain (this is the starter that is primed for use in your bake)
- 10 g Mature starter
- 40 g Spelt Flour
- 40 g Water
Dough
- 90 g Levain from above
- 700 g Spelt flour
- 520 g Water
- 40 g Honey
- 40 g Olive oil
- 15 g Salt
Toppings (Optional)
- Oats or seeds
Instructions
Step 1:
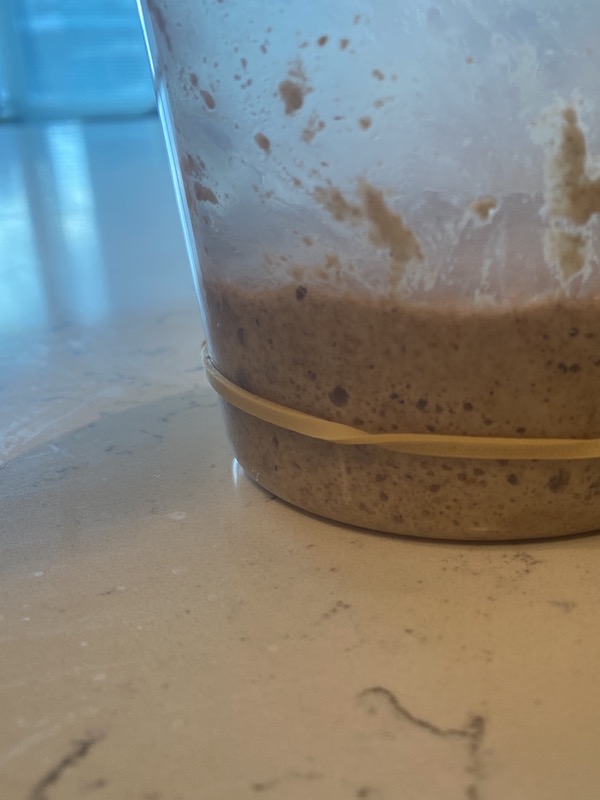
- The night before you wish to bake your bread, in a container with enough room for expansion, mix together all ingredients from your levain (Mature starter, spelt flour, and water) until all ingredients are hydrated. Set out on your counter overnight.
Step 2:
- The levain from the previous night should be doubled in size, this is a sign that it is primed and ready to use in your bake. Next step is to mix all ingredients together. I like to start by mixing the levain with the water, honey, olive oil and salt and mix until all ingredients are dissolved in a slurry. Then slowly incorporate the spelt flour until the mixture is fully hydrated scraping the bowl down as needed. Feel free to use a stand mixer if you so choose.
Step 3:
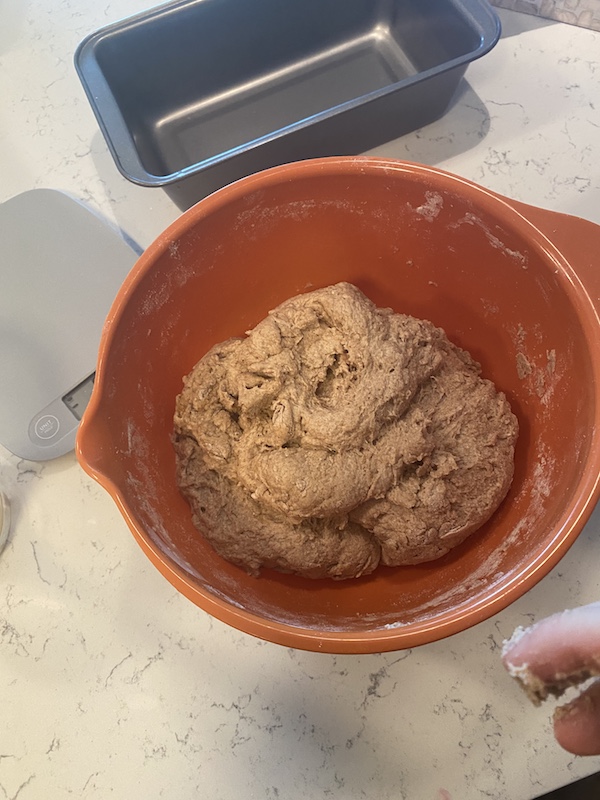
- Mix the dough until it forms a relatively smooth and elastic dough (roughly 5 minutes).
Step 4:
- The next step is the bulk fermentation (where we will let the dough do its first rise). Set your dough in a large bowl (enough to let it double in size) and cover. Over the course of 4 hours do 4 sets of stretch and folds at the following times into the rise: 15 minutes, 45 minutes, 1hr 15 min, 1hr 45 min. After the 4th stretch and fold leave the dough
- Note: A stretch and fold is simply where you pick up the dough from each side of the bowl to stretch the dough out and then fold it back into the center of the dough (imagine a square superimposed on your dough when looking down and pull from each side).
Step 5:
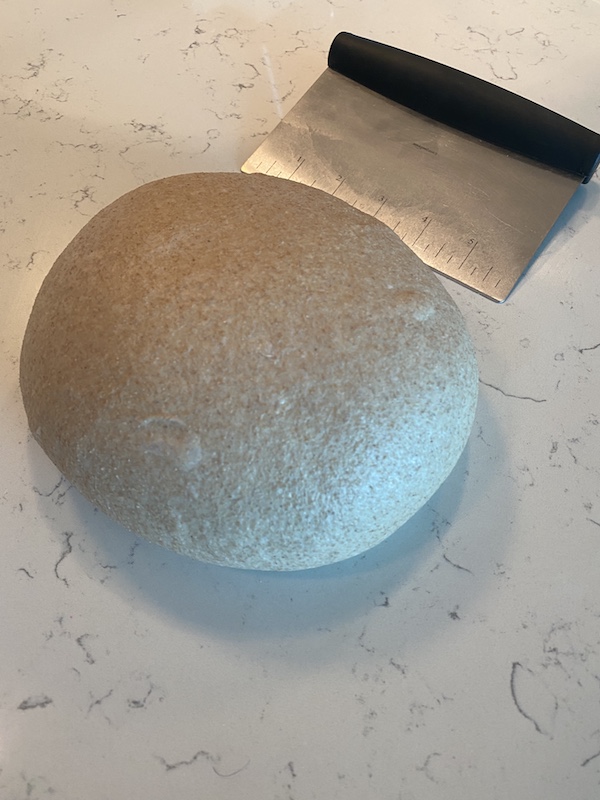
- After the bulk fermentation we will pre-shape the dough. This is our chance to give the dough some structure and give it a nice tight skin. Using wet hands or a bench scraper shape the dough into a circular mound with a tight skin. Let pre-shape rest for 20 minutes.
- To do this push under the dough with your hand or scrapper and push into the center of the dough. See video here.
Step 6:
- Prepare your loaf pan by greasing the pan, and placing a parchment sling into the pan to easily extract your loaf when it is done.
Step 7:
- Next step is final shaping. To do this take your pre-shaped loaf and flip it onto its back so that the sticky side is now facing up. Now imagining a square superimposed on your dough, gently grab the top right and left corners of the square and gently tug up and out about an inch or so and then push into the center of the loaf. Next do the same with the bottom.
- There are many techniques which will give you a “sausage roll” shape for your bread here is one that I found to be a clear demonstration.
Step 8:
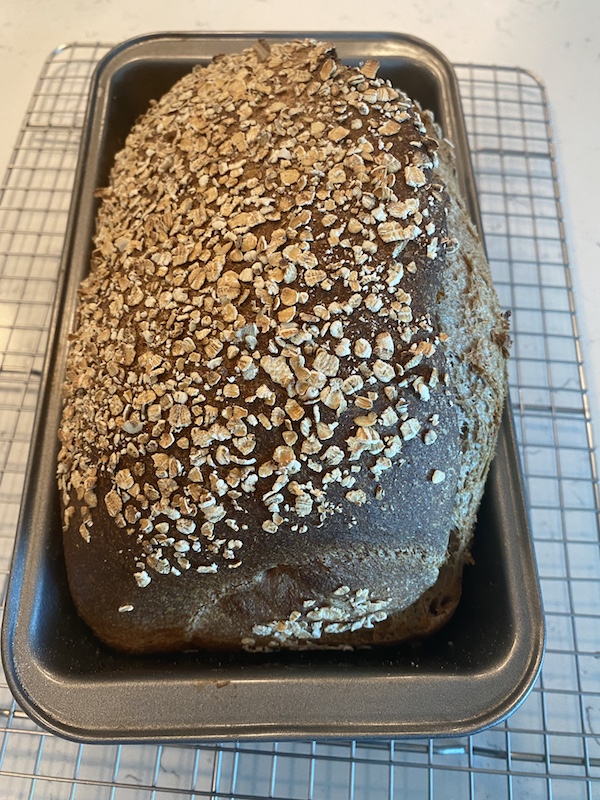
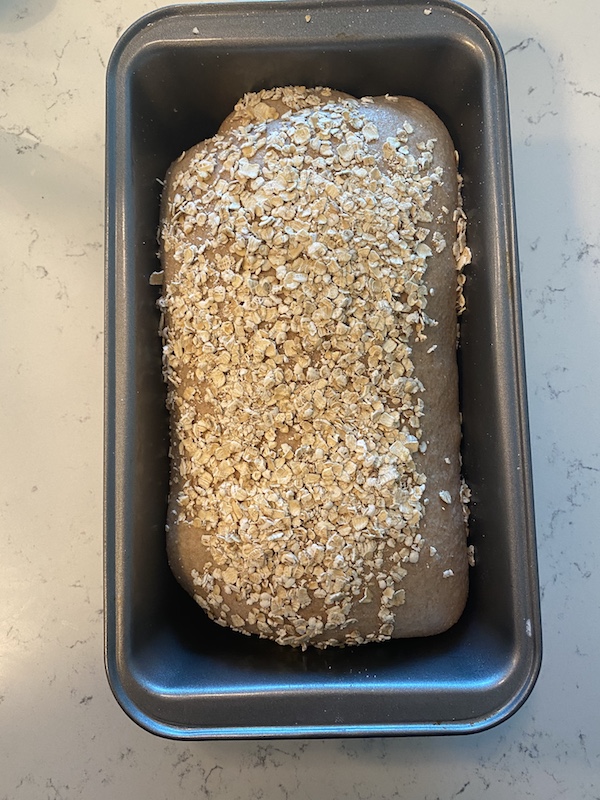
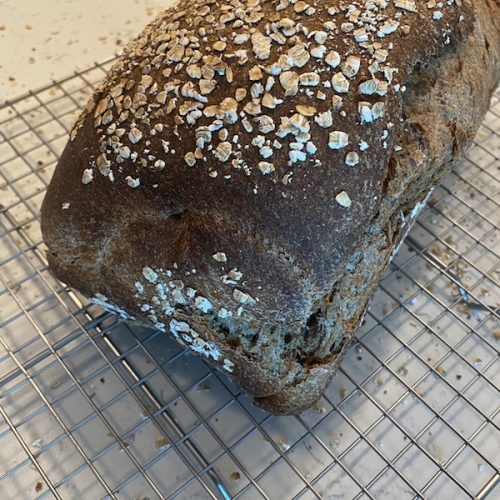
- After shaping your roll, there is the optional step to coat your bread by simply wetting the top of the dough and rolling in your choice of oats or seeds (I chose oats). Then place your dough seam side down into the parchment lined loaf pan. Cover the loaf pan and leave to proof for about 1.5 hours. You can tell when it is ready when you poke the dough and leaves a small impression that springs back only slightly.
Step 9:
- Place a baking sheet in the bottom rack of your oven and preheat your oven (about 30 minutes before you need to bake it) to 425℉.
Step 10:
- Prep a ½ cup of water or ice. This will be used to create steam in the oven which allows the bread to have a larger oven spring before developing a crust.
Step 11:
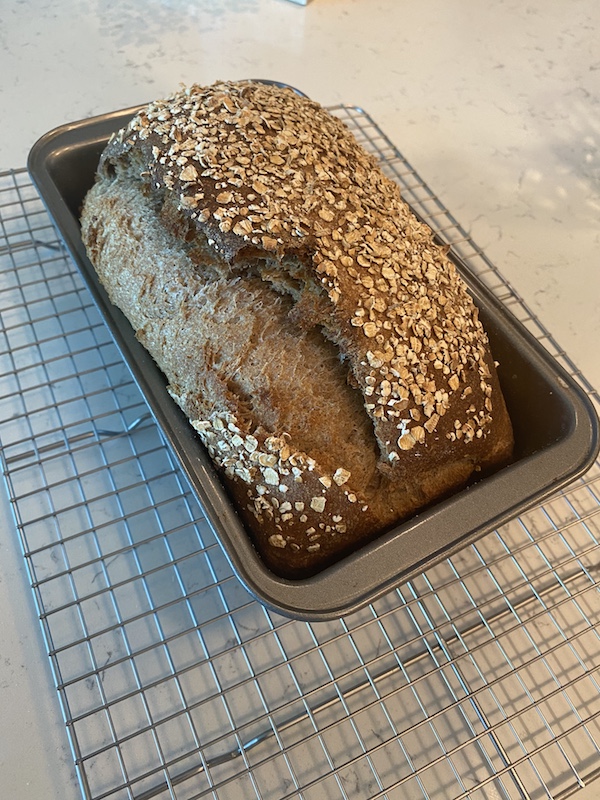
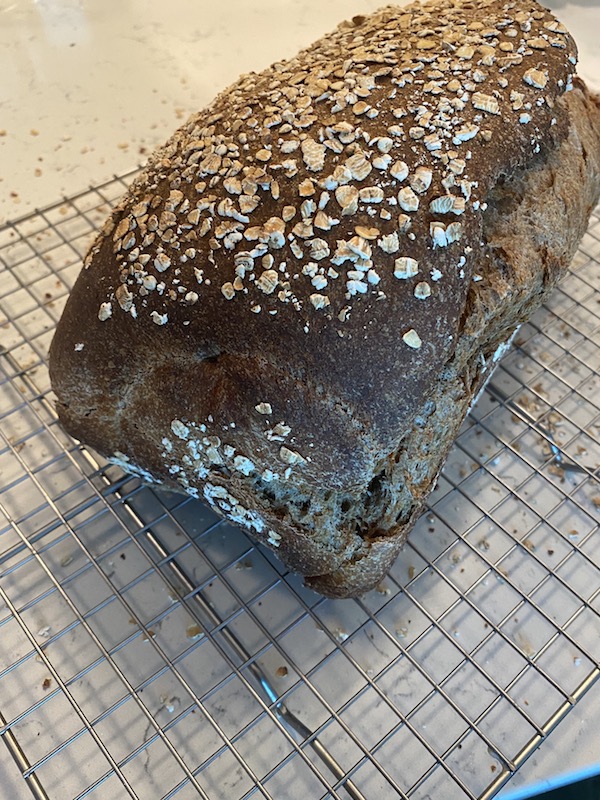
- Place your bread into the oven on the top rack and carefully pour in the water or add the ice to the baking sheet on your bottom tray and quickly close the oven door. Be careful of the steam when you add in your water or ice. Let the bread bake for 45-50 minutes and pull from the oven when the dough looks nice and dark brown or when the internal temperature registers 205℉. Optionally, remove the loaf from the pan and place back onto the oven rack for more color for 5 minutes.
Step 12:
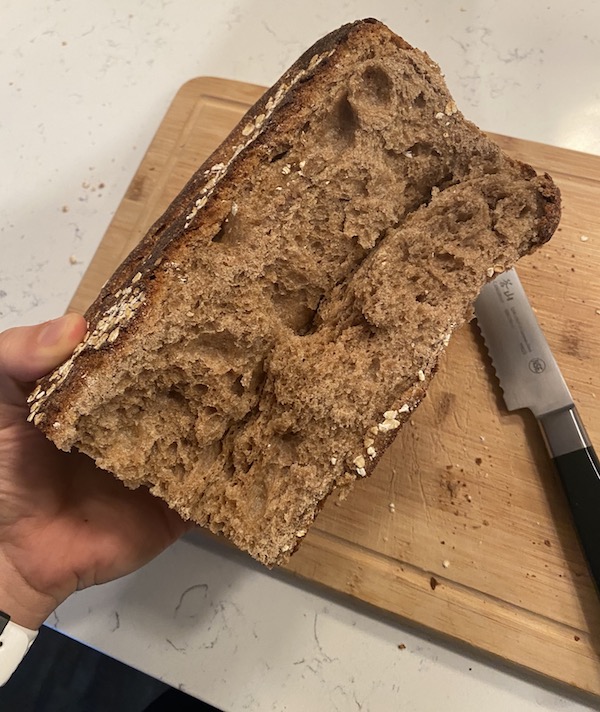
- Remove from the oven and let cool on a wire rack for 3 hours or until it cools completely before slicing into your bread. ENJOY!
Notes
Note 1: This recipe uses weights as measures as it will produce a far more consistent end product
Note 2: This bread requires a full day of inactive prep time, I recommend using a weekend to bake this (or any day when you are able to be home and check on the dough throughout the day)
Note 2: This bread requires a full day of inactive prep time, I recommend using a weekend to bake this (or any day when you are able to be home and check on the dough throughout the day)