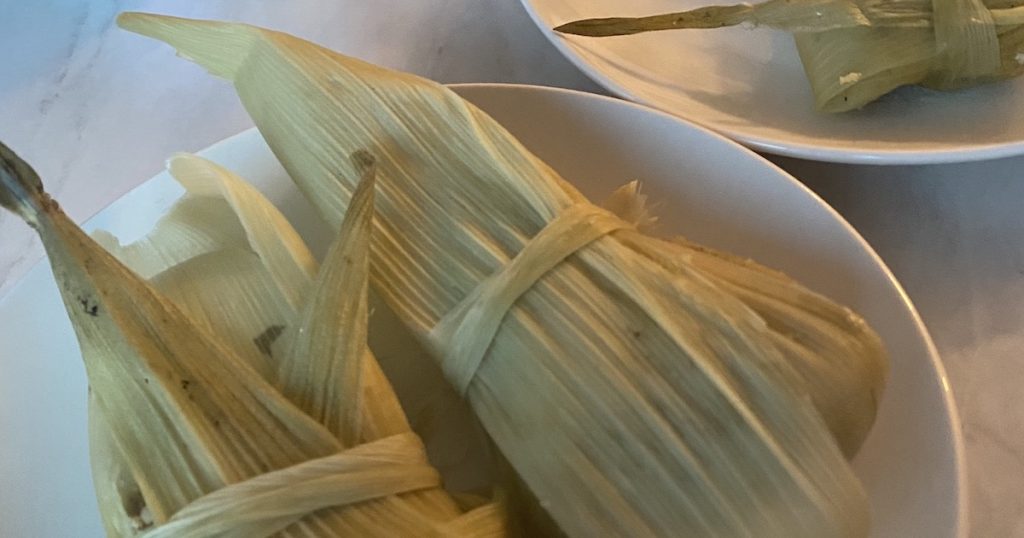
It's Corn Season - Time for Tomatillo Chicken Tamales
Summer is near and in the midwest that means the season of cheap corn is upon us! I recently went to my local market and was greeted with 8 corn cobs for $2. As a person who loves many corn based dishes (elotes comes to mind) I couldn’t pass up this opportunity! As I was shucking the husks off the cobbs I thought, “I wonder if I can use these corn husks as the wrapper for tamales?” I had only ever seen people use pre-dried corn husks that were much larger than these. But I thought…. It is worth a shot, especially with this Tomatillo Chicken Tamales recipe!
Inspired from corn shucking, I searched out recipes to fill my new desire for homemade tamales. I came to a crossroads. There seemed to be two camps in the tamale game. One side was entrenched in the belief that lard was a secret ingredient to tamale dough. The other side utilized vegetable shortening. I can see why there is a difference of opinion here.

Lard may not be as usable for everyone as is vegetable shortening may be due to many things including dietary preferences. So, in the name of science I took it upon myself to find out if there was truly a noticeable difference in the final product based on the fat used in the tamales. Prior to this recipe I had never really used much lard or shortening in my cooking. This would be a new adventure on both fronts.
Masa Harina
This recipe for Tomatillo Chicken Tamales also makes use of a common ingredient in Mexican cuisine, masa harina. Masa harina is a special type of corn flour that is modified through a process called nixtamalization. This is a process where corn flour is treated with an alkaline solution that, among other effects, increases the nutritional value of the corn meal. Masa harina can be used to make corn tortillas, to help thicken some soups, and as we will see today… to make tamales.

This recipe utilizes shredded chicken and the quick and easy method I used for these tamales was found at wellplated here. I found her method of poaching chicken for shredding to be fast and relatively hands off.
Using the corn husks harvested from sweet corn at my local market was an interesting idea. In practice the husks were quite small and difficult to work with. I could really only harvest about 1-2 larger husks from each corn cob and even those were flimsier than I would have liked. If I were to make another set of tamales, I would search out for some larger pre-dried corn husks designed specifically for this task. That being said, if you are in a pinch and have a hankering for some home made tamales, I can confirm that husks harvested from your own corn will do the trick. I have also heard that parchment paper is also a suitable substitute for corn husks. However, I have not tried it out myself.


Lard vs. Shortening - The Results
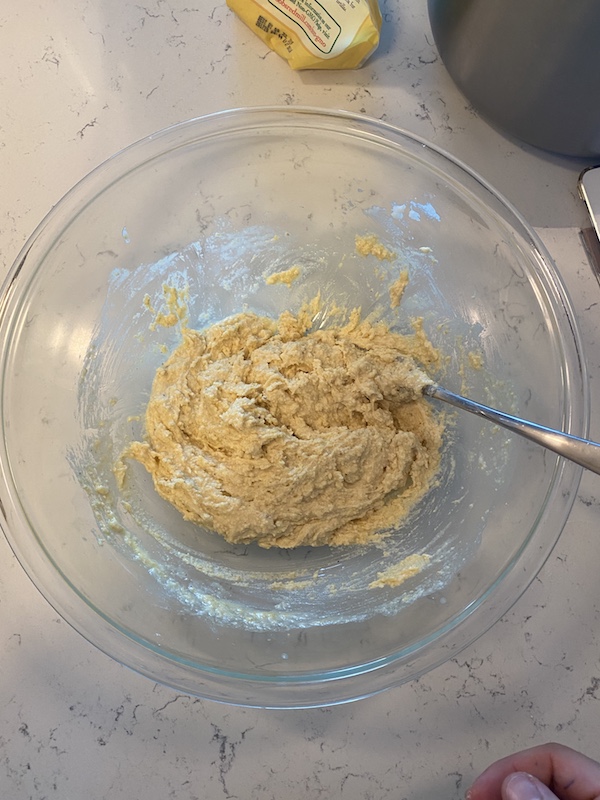
Let’s talk about the lard vs shortening. I found that working with these two products produced tamale dough that was very similar in look and feel before being cooked. I could not tell the difference between the doughs after they were mixed. The only slight difference was the smell which is more intense for the lard than the shortening.
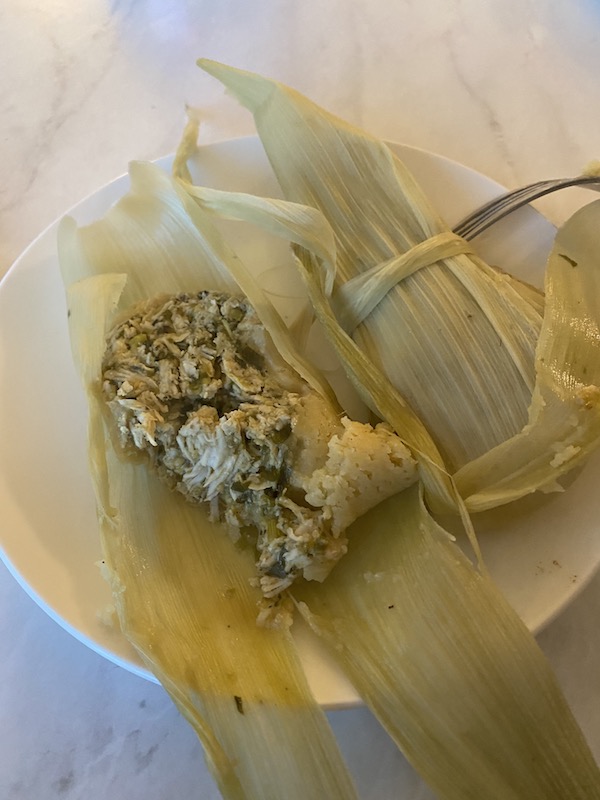
For the taste test… overall the tamales were amazing! The bright and vibrant green tomatillos and chile sauce brought a tangy, slightly sour kick with a tiny bit of heat. This played nicely as a counter to the less complex flavor profile from the tamale dough. As for which fat source was better, I would have to say in this contest, we have an honest tie. I found that the main factor in the tamale was the filling. This filling covered up the subtlety of the tamale dough. So, as long as your tamale has a tasty filling, it shouldn’t matter what fat medium you choose.
Overall Experience
My experience with this process of making Tomatillo Chicken Tamales was very enjoyable. While a bit messy at times, the final product was worth the effort. I definitely recommend you try these tamales out and spend some quality time in the kitchen! Maybe just… don’t use corn husks you make yourself if you are looking for an easy route.
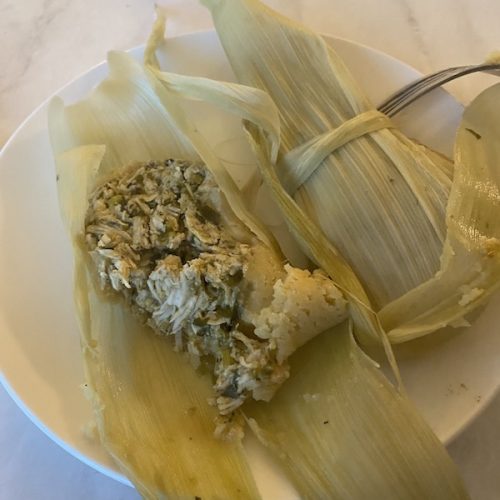
Chicken and Tomatillo Tamales
Equipment
- Corn husks
- Mixing Bowls
- Spoon
- Fork
- Steamer basket
- Blender
- Medium Saucepan
Ingredients
Tomatillo Chicken Filling
- ½ lb tomatillos husked and washed
- 2 serrano or jalapeno chiles stemmed and chopped
- 2 garlic cloves
- 1 tbsp vegetable oil
- 1 cup chicken broth or bouillon
- 2 cups cooked / shredded chicken
- ½ cup chopped cilantro or parsley if you're in a pinch
Tamale Dough
- 1.75 cups masa harina
- 1 ⅛ cup warm water
- 10 tbsp lard or vegetable shortening
- ¾ tsp salt
- ¾ tsp baking powder
- 1 cup chicken broth or bouillon in water
- Dried Corn Husks enough for 14 tamales
Instructions
Step 1:
- First step is to prepare the filling as this can be done hours ahead of time and stored in the fridge when you need it. Preheat your broiler. At the same time, start soaking your dried husks (for at least 3 hours) to ensure they are pliable when you need to use them.
Step 2:
- Line a baking sheet with aluminum foil and place tomatillos on that sheet. Broil tomatillos until dark spots form, turning a few times about 4-5 minutes per each side.
Step 3
- Transfer tomatillos and all their juices into a blender and blend until it is a smooth puree. Add chiles and garlic and blend again to smoothness.
Step 4
- Heat oil in a medium saucepan on med-high heat and add the tomatillo puree. Bring puree to a boil while stirring often (about 4 minutes). Add the chicken broth and reduce heat to medium. Reduce the sauce until it is thick enough to coat the back of a spoon in a thick coating. If you drag your finger across the spoon the mixture should not easily fill the gap. This should take about 30 minutes.
Step 5
- In a medium bowl mix in shredded chicken, salt, tomatillo sauce, and cilantro to the bowl and mix well. (This mixture can be made and chilled 1 day ahead too!).
Step 6
- Time to prepare the dough. First step is to grab a medium bowl and mix the masa harina with the water and combine to a rough dough.
Step 7
- Using a fork, mix in the lard, salt, and baking powder in a medium bowl and add in the masa dough from the previous step.
Step 8
- Gradually mix in the ¾ of your chicken broth to form a soft dough. If the dough seems too tough then add more chicken broth to soften it up. It should be supple but not liquidious.
Step 9
- Set up your steaming apparatus, filling it with water. Mine is a pot with a steamer attachment on top. Line the bottom of your steamer with extra corn husks.
Step 10
- Assembly time. Take a few corn husks and tear lengthwise into long strips. These will be used to tie up the tamales.
Step 11
- Pick some large corn husks and lay them out flat. Spread in about ⅓ to ¼ cup of your tamale dough leaving about half an inch of room on each side. Then spoon a large tablespoon of filling onto the dough.
Step 12
- Then fold up the bottom flap of the husk and fold down the top flap of the husk. Next roll the narrow sides to the center and tie it all off with one of the long pieces of corn husk strips from step 9.
Step 13
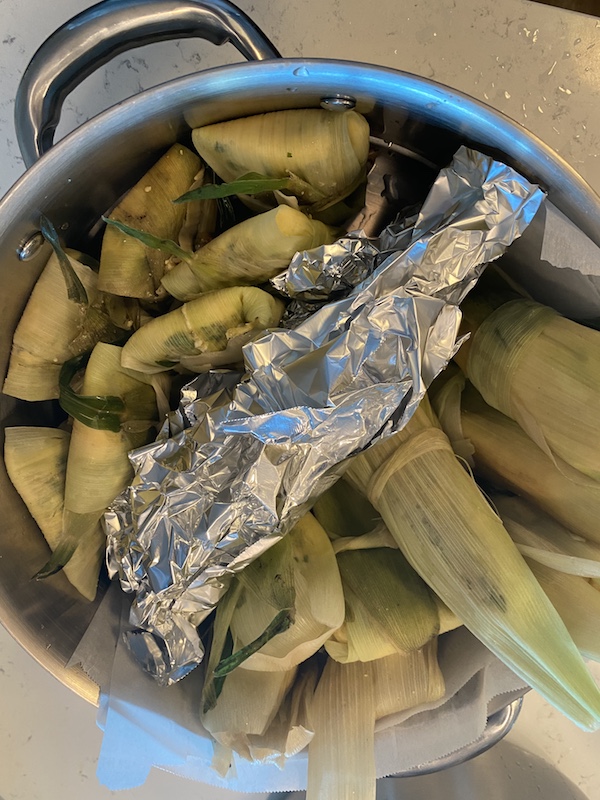
- Place these tamales standing upright in your steamer. If you find you have gaps between tamales you can insert some crumpled up aluminum foil to help them stand up straight.
Step 14
- Bring your water to a boil. Add your steamer basket, cover and cook tamales for 45 minutes. Let sit for 10 minutes. Enjoy!
Notes
Note 2: If you want it to be less spicy, de-seed the chiles
